

足回り交換の流れ
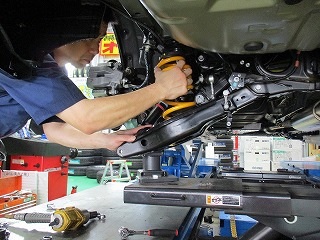
整備士免許を持つ当店スタッフが
丁寧正確に作業します。
整備士免許を持つ
当店スタッフが丁寧正確に作業します。
- サス・ショック・車高調交換を検討されているお客様はTELまたはメールにてお問い合わせ頂くか、お近くの方は直接ご来店下さる事が良いかと思います。
- 当店スタッフがご要望お悩みお車の状況状態をお聞きしまたは直接お車を試乗確認(ご来店の場合)します。その上でこれまでの経験ノウハウと日々勉強して集めた最新な情報からお客様の基本走行と乗り心地、ダウン幅などのご要望などからベストな足回り品をご提案お見積もりいたします。
- 足回りの交換をご予約頂く場合は一度ご来店して頂き当店スタッフが再度お客様のご要望とお車の現状を確認し再度お見積もり足回り品の納期と当店の空き状況お客様の入庫可能日などから交換日を決定させて頂きます。
- 代車(無料)ご用意していますのでご予約の際にお申し出下さい。代車は一台ですので既に予約済みの場合はご容赦下さい。代車の前日からの受付は基本していませんが詳しくはスタッフにご相談下さい。
- 当店の足回り交換は年末年始、お盆、ゴールデンウイーク(基本5月3、4、5日)と12月スタッドレス等の超多忙時期以外は年中お受けいたします。
- 作業時間はお車足回り交換品によって変わりますが3時間~5時間ぐらいですが足回り交換は基本1日お預かりでお願いします、3時間で交換可能の場合もありますがお車や足回り品によっては、一日掛かる場合もあります。
- 予約時間枠は当日AM9:00から(一日中預かり出来次第時間内何時でもお渡し可能)と前日PM7時までに入庫して頂き予約日に交換作業を行いPM7時までにお渡しする二通りです。
【当店の足回り交換予約システム】
 ご予約のお電話
TEL0569-84-2772(AM9:00~PM7:00)に足回り交換のご予約のお電話下さい。
ご要望とお車の現状をお聞き確認し当店の経験ノウハウからベストな足回り品のご提案とお見積もりをします。
 確認事項
確認事項
ご予約は一度ご来店頂き当店足回りスタッフが再度お客様のご要望とお車の現状を確認し代車の有無などお聞きし交換希望日と当店空き日枠を確認します。
 予約
予約
予約日予約時間、代車有無を決めさせて頂きご予約証を発行し正式ご契約です。
 ご来店
ご来店
予定日予定時間または前日にご来店下さい、当店スタッフがお待ちしています。
足回り交換の流れ
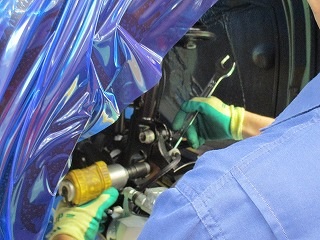
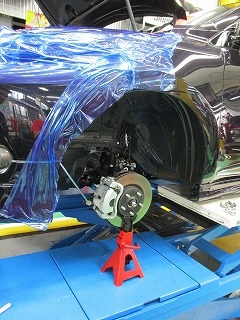
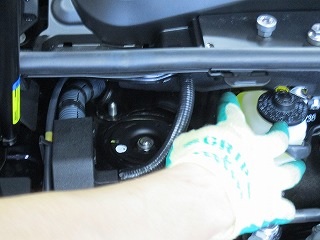
1、傷つきやすい箇所をラッピングする

2、アッパーのボルトを一箇所だけのこしあとは外す。

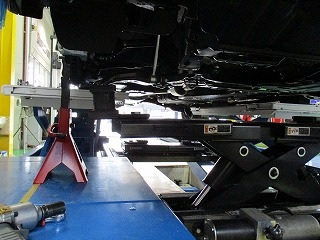
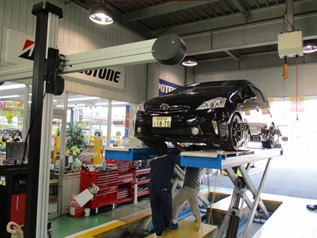
3、リフトアップしてタイヤを外す
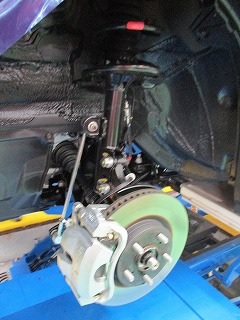
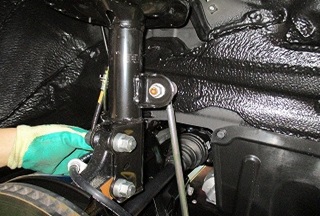
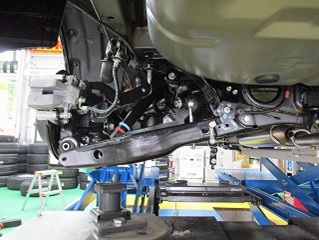
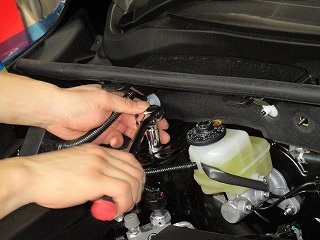
ストラット式サスペンション、緩める箇所にマーキング
ストラットにくっついている配線を外す
4、ストラットボルトマーキング
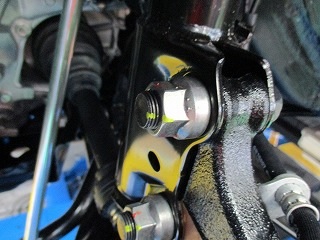
5、アッパーボルト→スタビボルト→ストラットボルト
6、ストラットを外したら、ドライブシャフトが抜けないように、支える
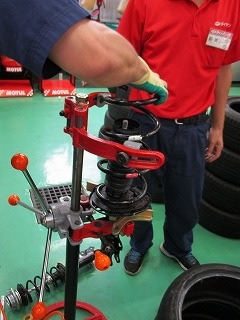
7、サス交換作業。このようにセッティング
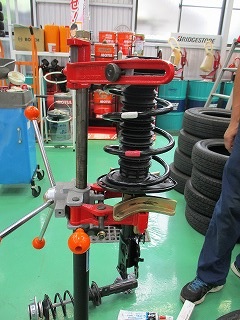
8、バネにかけて、均等に下がるように回す
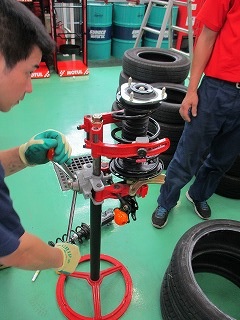
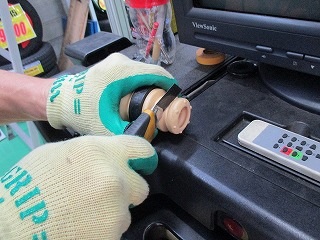
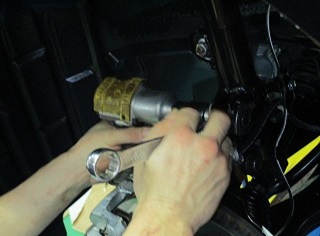
9、真ん中のボルトをゆっくり外す。
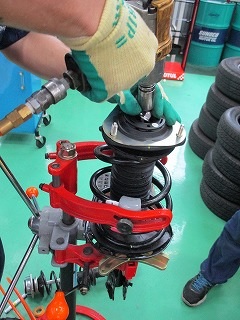
10、アッパーの部品を取り除く。
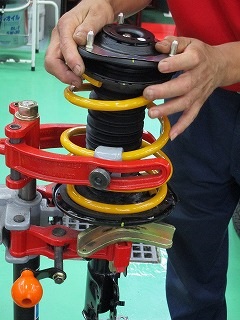
11、バンプラバーを一こま切る
12、ラバーを入れ、アッパーを元の順番で戻す

13、戻す。
14、とりつけ。
15、アッパーのネジを仮絞めしておく。
16、ストラットの根元をこがめリフトで上に上げる。
17、アッパーが浮くので最後まで締める。

18、ストラットボルト、スタビボルト、配線を元に戻す
19、インパクトで締め、トルクレンチで再度締める。
締め忘れがないかもう一度確認。
20、ネジ外す場所にマーキング
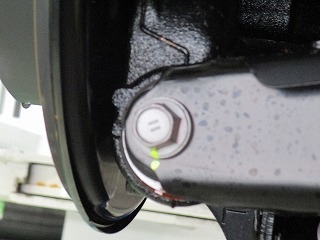
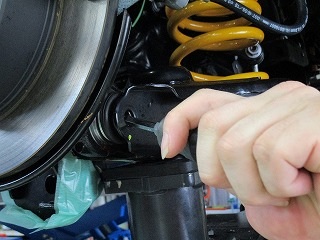
21、ハリアーの場合はこの箇所を外す。
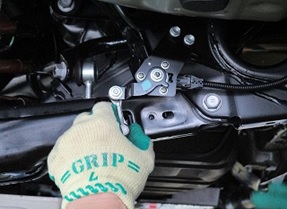
22、光軸の部品を外す。外さないと折れてしまう
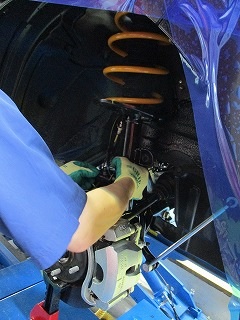
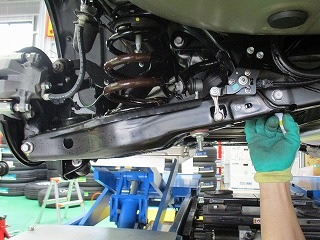
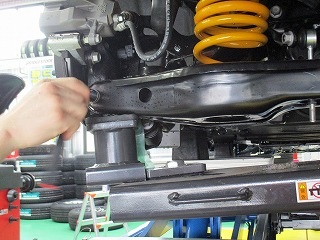
23、子亀で、根元を上げてボルトを抜く。
24、ボルトを抜き、サスを外す。
25、ダウンサスを入れる。
26、子亀で上げて穴を合わせる

27、穴を合わせる。
28、穴を合わせたら、ボルトを入れる。
この時一気にインパクトを使うと噛む恐れがある為、最初は手でやり、それ以降はラチェットを使う。
29、それぞれ緩めた箇所を締めて行く。

マーキングした所よりも少し締まる位がちょうど良い。
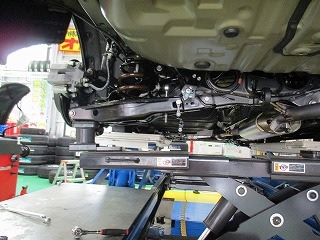
30、タイヤを付けてリフトを降ろす。

31、アッパーの本締め
32、再度リアを確認。トルクレンチで締めつけ。

最後に必ず設置状態で足回り各部のボルトを締め直します。
33、取り付け完成!!
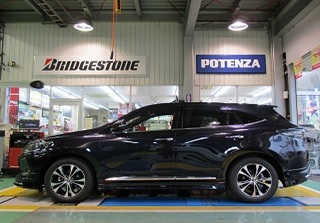
34、アライメント調整へ
試し走行後に各足回りチェック完了後にアライメント調整をします。